Plan for Vacation Toolkit
Energize Your Campaign with Our Toolkit!
Are you ready to spread the word and help others plan their dream vacations? Our “Plan for Vacation” Toolkit is filled with vibrant, ready-to-use logos and social graphics that bring the joy and excitement of vacation planning to your audience.
What’s Inside:
- Logos: Our collection of “Plan for Vacation” logos comes in various formats, perfect for any platform. Whether it’s for your website, email signature, or print materials, these logos are designed to captivate and inspire.
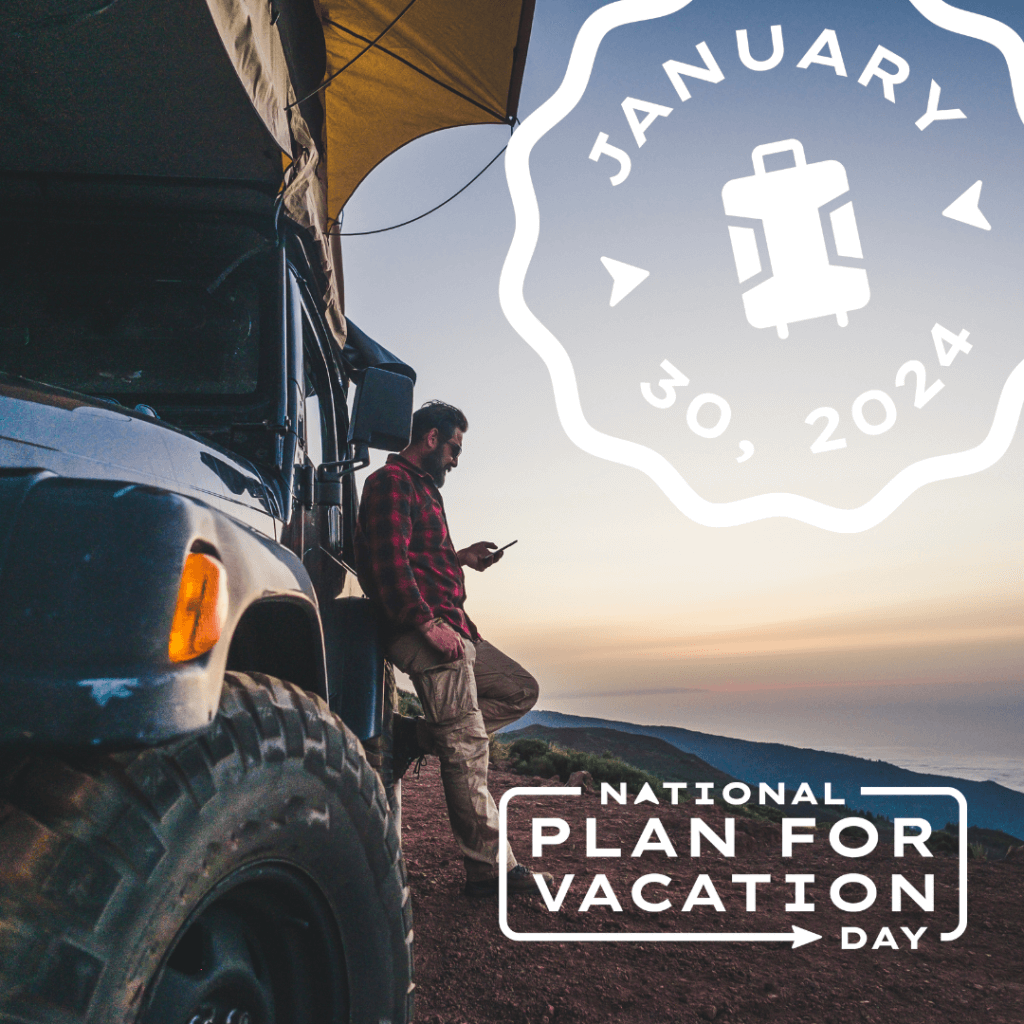
- Social Graphics*: Dive into a world of stunning, shareable social graphics. These are tailored for use on various social media platforms – Instagram, Facebook, Twitter, and more. Each graphic is crafted to engage and encourage followers to start planning their next adventure.
- Editable Templates: Within the Toolkit, you will find customizable Photoshop PSDs that you or your agency can use to add your destination’s images to create social posts.
- iHeart Media Promotion: Elevate your destination between Blue Monday (Jan. 15) and National Plan for Vacation Day (Jan. 30) with unique promotional packages designed to highlight your destination as part of a $8 million equivalent programming blitz from iHeartMedia, get more information here.
*Images provided by freepik.com
Click on the download button above. A ZIP file containing all the toolkit resources will begin to download to your computer. This file is usually named something like “Plan_for_Vacation_Toolkit.zip.”
How to Use the Toolkit
After downloading the ZIP file, you’ll need to extract its contents. The process varies slightly between Mac and PC:
- On a Mac:
- Locate the ZIP File: Find the downloaded ZIP file in your ‘Downloads’ folder or wherever you chose to save it.
- Unzip the File: Simply double-click the ZIP file. The file will automatically be unzipped, and a new folder with the same name will appear, containing all the toolkit resources.
- On a PC:
- Locate the ZIP File: Navigate to the folder where you downloaded the ZIP file (usually the ‘Downloads’ folder).
- Extract the Files: Right-click on the ZIP file. Choose ‘Extract All…’ from the context menu.
- Choose a Destination: In the dialog box that appears, you can specify where you want the extracted files to go. If you don’t choose a location, it will create a new folder in the same location as the ZIP file. Click ‘Extract’ to proceed.
- Access the Contents: Once extracted, a new folder will open (or be located where you specified), containing all the toolkit items.


